July 14, 2026 · 3 min read
Working with reference photos (and how images work on this site)
A mockup post for the image pipeline — a card thumbnail, a captioned figure, and a plain inline image, all from one file dropped in /assets/images.
Note to self: mockup post to test images — the card thumbnail (
image:front matter), the{% figure %}shortcode, and a plain markdown image. Safe to delete before launch.
Half of environment work starts before any software is open: a folder of reference. A wood pigeon on a wet branch is not concept art, but it carries exactly the things I want to steal — the soft grey→lilac gradient on the breast, the way overcast light kills specular, the scrappy silhouette of the twigs. This post is a throwaway to show how a picture gets onto a page here.
Three ways an image shows up
1 — The card thumbnail. Set image: in the front matter and the post's card on /blog/
and the home list grows a thumbnail that bleeds off its right edge. That's the photo at the
top of this post — you already saw it on the way in. Nothing else to do; leave image: out
and the card is just text.
2 — A captioned figure. For a picture inside the writing, use the {% figure %}
shortcode. It gives you a caption and an optional width cap, and it's styled to match the
boxes and rules everywhere else:
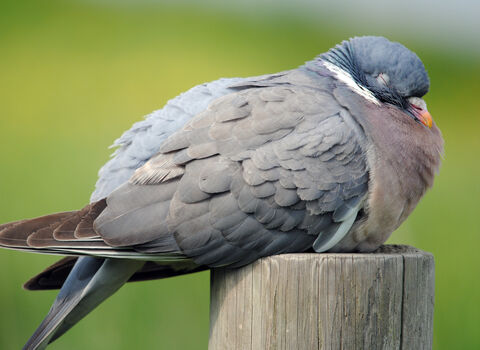
The alt text is for screen readers and search engines — always write a real description of
what's in the frame. The caption is the visible line beneath, and it's optional. width
is optional too; leave it off and the image fills the column.
3 — A plain inline image. When you don't need a caption, ordinary markdown still works and gets the same border and rounded corners:
Same file, no shortcode. Reach for {% figure %} only when you want the caption or the width cap.
The pipeline: how to add a picture
- Drop the file in
src/assets/images/(that whole folder is copied to the built site as-is). - Reference it from
/assets/images/<file>— a leading slash, because the site is served from the domain root. That path is the same whether it's the cardimage:, a{% figure %}, or a markdown![](). - Prepare the file before it goes in: export at ~2× the size it displays (cards are small,
body images span a ~680px column, so 1200–1600px wide is plenty), compress it (aim for
a few hundred KB, not multiple MB), and give it a descriptive lowercase name —
mossy-cliff-01.jpg, notRender_Final_v3.png. Photos →.jpg, anything with hard edges or transparency →.png.
That's the entire manual pipeline today. When the portfolio arrives it'll want optimized, responsive images (multiple sizes, lazy WebP/AVIF), and at that point this same drop-in step gets handed to an image plugin that generates the variants automatically — the way you add an image won't change, only what the build does with it afterward.